
- Roblox Flamingo Bio: Age, Birthplace, Nationality, More Explained - March 15, 2023
- Bankai Akuma Shindo Life Guide: How to Unlock This Eye Bloodline - March 15, 2023
- Blox Fruits Tushita Guide: How to Unlock This Endgame Katana - March 13, 2023
Regarding Roblox Studio, making the games of your dreams isn’t just a wish upon a star. What I love about how Roblox Studio works is that its programming language, Lua, is, by and large a reliable method of scripting for your experiences. It is relatively easy to learn compared to other programming languages, as you will see in this Roblox Lua guide.
Lua is the language by which everything in your Roblox experience communicates with one another. It tells each object how to function and when combined with other elements, it creates a seamless experience for anyone to enjoy. What I find fascinating about Lua is that even kids can learn it quite well and create their own experiences using the programming language. Here are the basics you need to know about Roblox scripting in this Roblox Lua guide.
Bottom Line Up Front
Lua is the name of the scripting language that Roblox uses. Its own pro proprietary programming language is relatively more straightforward to use than something more hardcore like Java, being more on par with the relatively simple HTML code. It is pretty clear how to command your objects and parts of your map to function in specific ways. In addition, Lua is even simple when it comes to looping your functions infinitely for players and telling an object to wait. It is even easy to test out your scripts as you go, so you make sure that it works at all times.
Roblox Lua Overview
By far, the most intimidating part of building your own experience in Roblox has to be Lua. I know this from personal experience dating back to my high school days of trying to develop a game, but programming is the most daunting part. Even art and design are arguably easier to do.
But when it comes to programming, it is like learning a brand new language, literally. You have various lines of codes, functions, and general commands that you have to memorize, and it works in a specific way. The worst part is that not every programming language functions the same, either, with slight word changes and scripting differences.
This is why it is a genuine time commitment when you decide to learn Lua and start building your own Roblox experience. You see, there are a few different parts to Roblox Studio, the core application from which you create games for Roblox.
There are various objects, camera controls, and settings that you have to deal with when designing a map or game. However, the most significant part of Roblox Studio that isn’t in your face like everything else is Lua. This is the name of the scripting language for Roblox, and it controls everything.
If an object moves on its own, if an NPC tells you something in a text box, and if you level up after gaining experience, it was Lua that was telling the game to make that happen for you. Without Lua, almost nothing would happen in a Roblox experience. It is daunting but a little bit easier to learn than some other programming languages out there. Here’s how to navigate it.
How to Script in Roblox Studio
There is so much to scripting with Lua in Roblox Studio, so I divided it into various groups you should know about. These are the core ideas that help you program and create lines of code in Lua.
If you can understand these concepts and put them into practice, you’ll be able to command objects to do a number of things. To help with this, I have some direct examples to go along with the explanations below that should help put everything into context.
To start before anything else, scripting requires you to have something you want to add the script to. This could be a character you created, a platform you wish to edit, or even a weapon you want to change the properties of.
Once you have an object you wish to command, find it in the list of items under the Explorer area of Roblox Studio. When you right-click on the object in question you wish to give some commands to, there will be a plus symbol you can select.
Doing so will open up the Lua code for this particular item. By default, various scripting languages will be already there to command the object. In general, you want to delete all of that when you get started with an object so you start fresh and can build the code command from the ground up. Here’s what you need to do.
Variables Explained
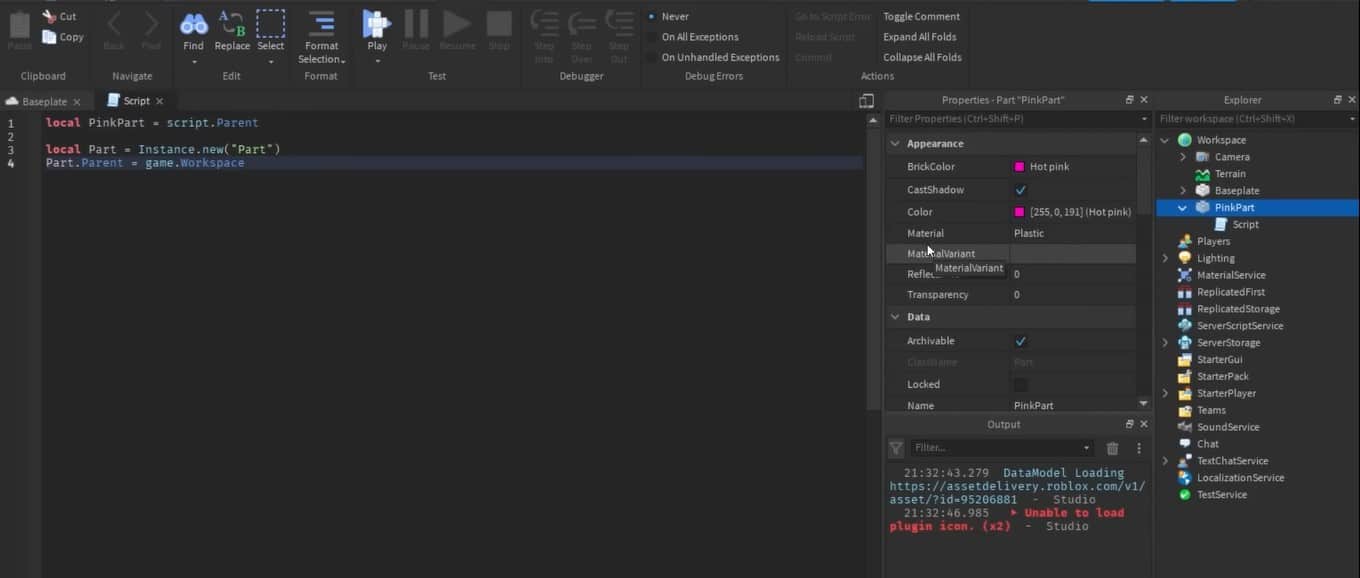
First and foremost, variables are the name of the game. You see, a variable is quite literally the title of the object in a way and also the title of various properties of something. For instance, in general, when you start out a line of code for an object, you want to start with a local line. This line will designate that this is a local command, meaning that it only affects the object in question.
There may be cases where you wish to expand scripting to include everything in the experience, but this is extremely rare and shouldn’t be used that often. In general, you’ll start with a local command that will also note the object’s variable name.
In practice, it looks like this, so you get the idea:
- local variableName = variableValue
The variable name is, well, the name of the object. Something simple, like a platform or character would work best here. The equal sign tells Lua that whatever this object is – vehicle, door, etc. – should do whatever the following scripting says. Many times over, the easiest way to build this first line of code is to say the following:
- script.Parent
There are exceptions to this, too, as with all parts of programming, but most of the time, this is a great way to start out your command. This tells Lua that the following is the script for the “parent,” or essentially the object that you put before the equal sign.
Camel Case Explained
Before we can get a little deeper into the context of scripting, there is an element you should know about, and that is the camel case. When you open up the scripting text box, and you want to type something in here, the key is how you order it. This is where some programming languages differ, too.
For Lua, it uses a camel case when it comes to variables, which are generally the first line of the code. How this works is that it looks like a hump, sort of like what a camel has on its back. When you write code for the variable, as mentioned above, you want the first word to be lowercase always.
However, if there is a second word that is combined with it, that word will be uppercase, and it will continue that way for every single word that follows the first one. You can find a further example of a camel case being used for a variable line of code below:
- local variableName = variableValue
See how the first word, variable, is lowercase while the second word, name or value, is capitalized? This includes when two words are connected to one another using a period, so basically, almost anything other than a space. Here are a couple of examples of that for reference:
- script.Parent
- platform.CanCollide
As you can see, there is a period between the two words, but they are still connected to one another. As such, the script isn’t capitalized in this situation, but the parent is. Please note that this is generally only the case when it comes to variables. Variables usually only cover titles for the line of code or object and sometimes significant properties that already exist that you’re editing, including some of the ones I’ll describe down below.
Functions
Functions are the meat of the scripting you’re doing in Lua and Roblox. Since you’ve already established the identity, so to speak, of the object you’re commanding, it is now time to tell it what to do. The skies are virtually the limit here so long as it is possible within the confines of Roblox Studio.
For instance, you can tell Lua that the object functions only when a player touches it. This can then, in turn activate a second function that is only active when someone touches it. That function could be something like instantly killing the player whenever they touch it, like in the case of creating a pool of deadly lava.
That is just a single example, but the idea here is to start pretty much the same, no matter what function you have in mind. It begins with the following line of code:
- local function
Following the function word or in place of it, you’ll put what you want the object to do it. It could be kill, disappear, fade, change position, add or delete players, and so on. For instance, here is an example following up on what I mentioned before about creating a pool of lava and telling it to oof any player who touches it:
- local function kill( )
- end
There are a few key things to note here. You always need to put the two parentheses after the word of the function; in this case, being kill. These aren’t important for basic commands like this, but sometimes you’ll want to add extra information and details to Lua for the command, which will go in the parentheses.
You also want to put an end after everything regarding the function is done. This is the conclusion of this particular function (but not necessarily the script) and wraps up everything together nicely. Basically, every part should act as a closed loop.
You start with the function itself, detail in the following lines of code what exactly it does, and then complete the loop with the word “end.” That is a basic structure for functions, but, trust me, it can only get more profound and more complicated from there, depending on the function you wish to do.
Properties
Like functions, properties are another significant aspect of scripting that you should know about. In this case, you are basically commanding the object to change itself in some way. The key with properties is that they act like variables, so you need to use a camel case when dealing with them.
Properties include the name of the object, as you mentioned in the first line but it also includes other areas, such as its transparency, specific scenarios, such as if it is touched by a player, and so on. Properties are helpful in a number of ways as they set the stage for many of the functions that happen.
Perhaps you want the object to move occasionally; that would be a combination of dealing with properties and functions. Or taking the example from before about creating some lava sections on a map that will instantly eliminate the player upon touching, here’s how you would go about editing the property of it continuing from our line of code from before:
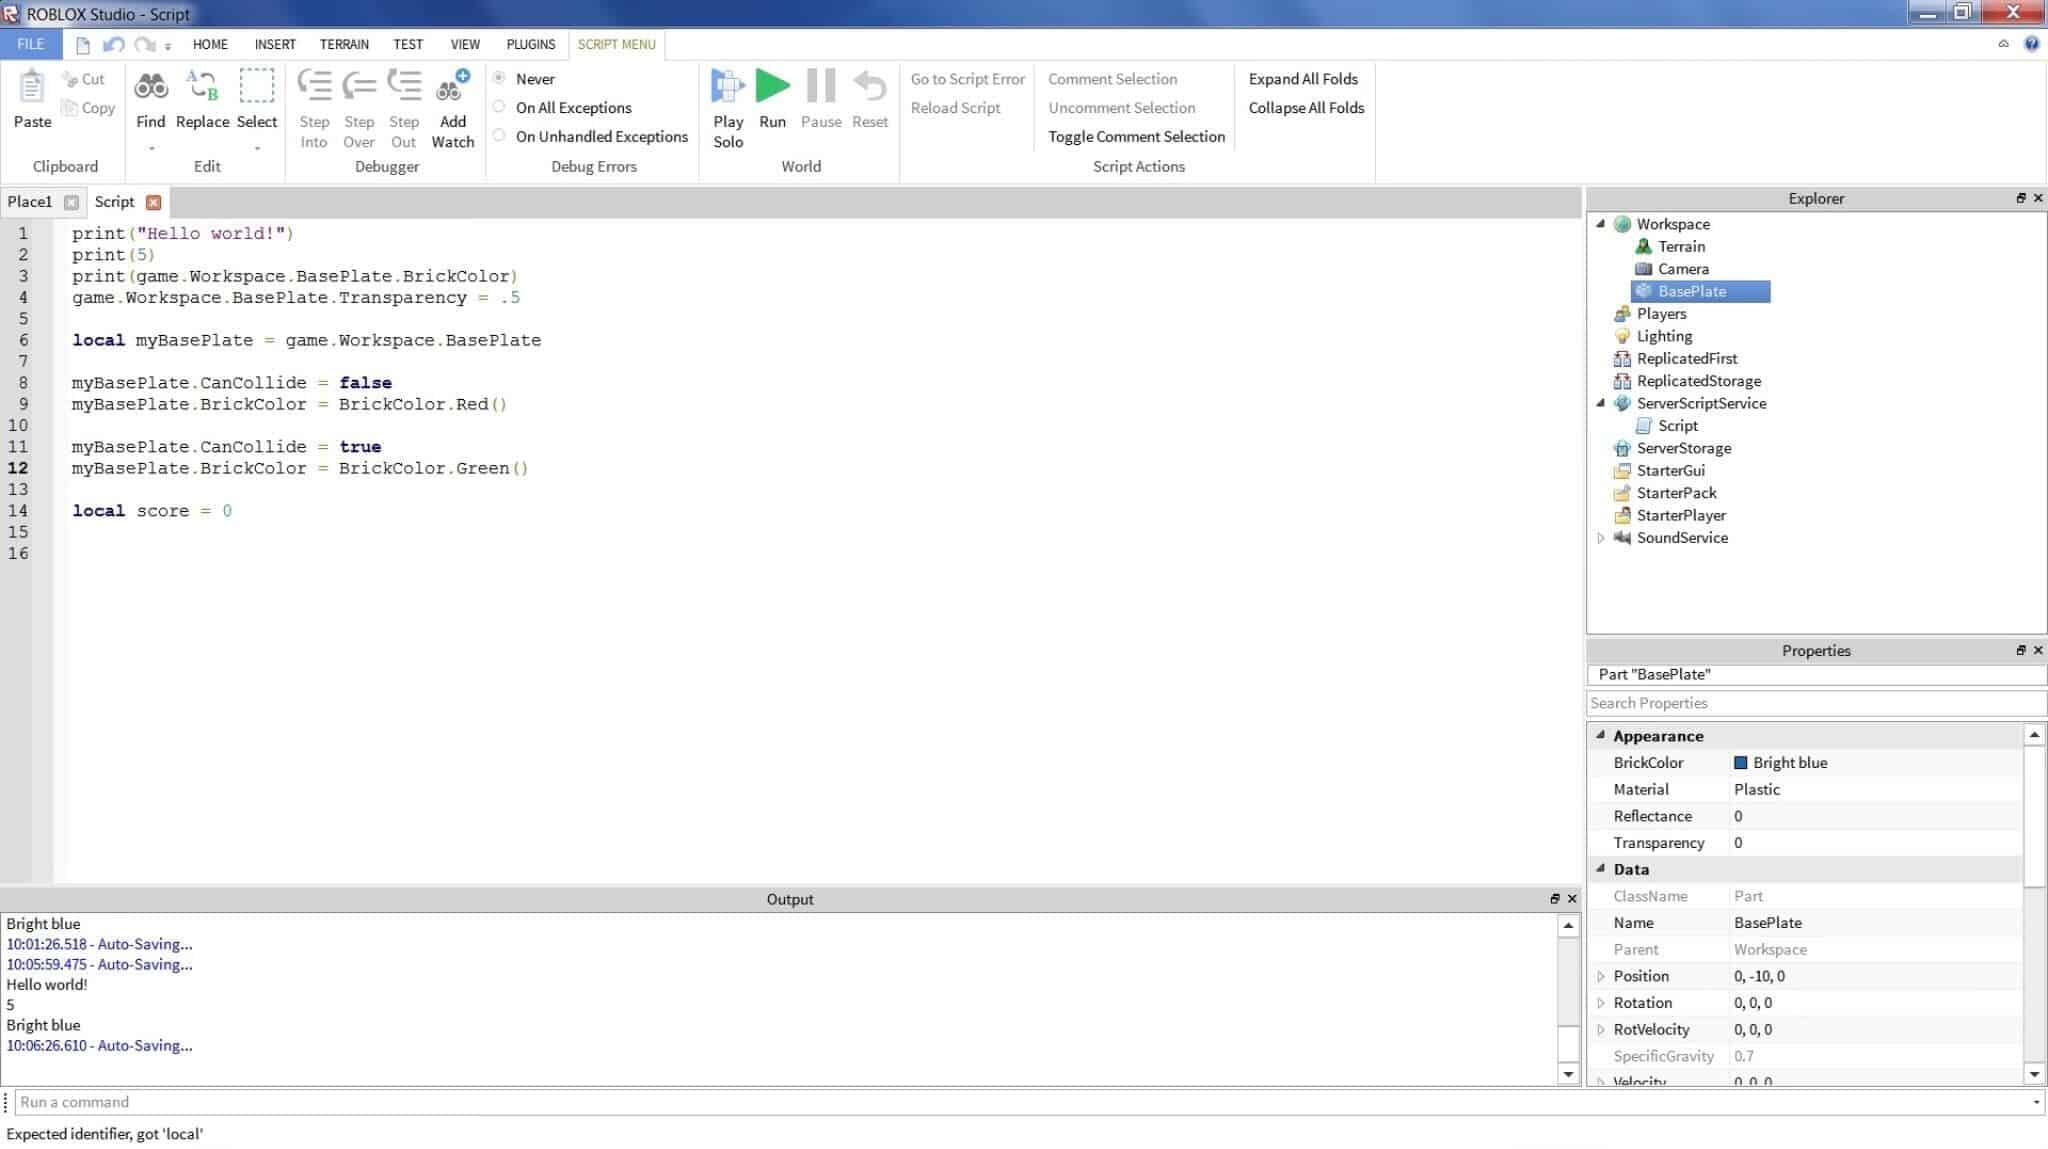
- local lava = script.Parent
- local function kill( )
- end
- lava.Touched:Connect (kill)
As you can see, we have the same starting line as always, noting the title of the lava. There is the kill function that we already stated before but now we need to change the property of the lava object to specify what it’s killing and when.
The “touched” property was noted in the camel case in this case. This means that it will do a certain function whenever it is touched. In this case, a colon is inserted afterward, along with the word “connect” and the function in parentheses.
What this does is literally connect a function to the property of being touched. What this means in practice is that whenever this object is touched, it will now do the function of a kill. The lava will now essentially oof any player who touches it.
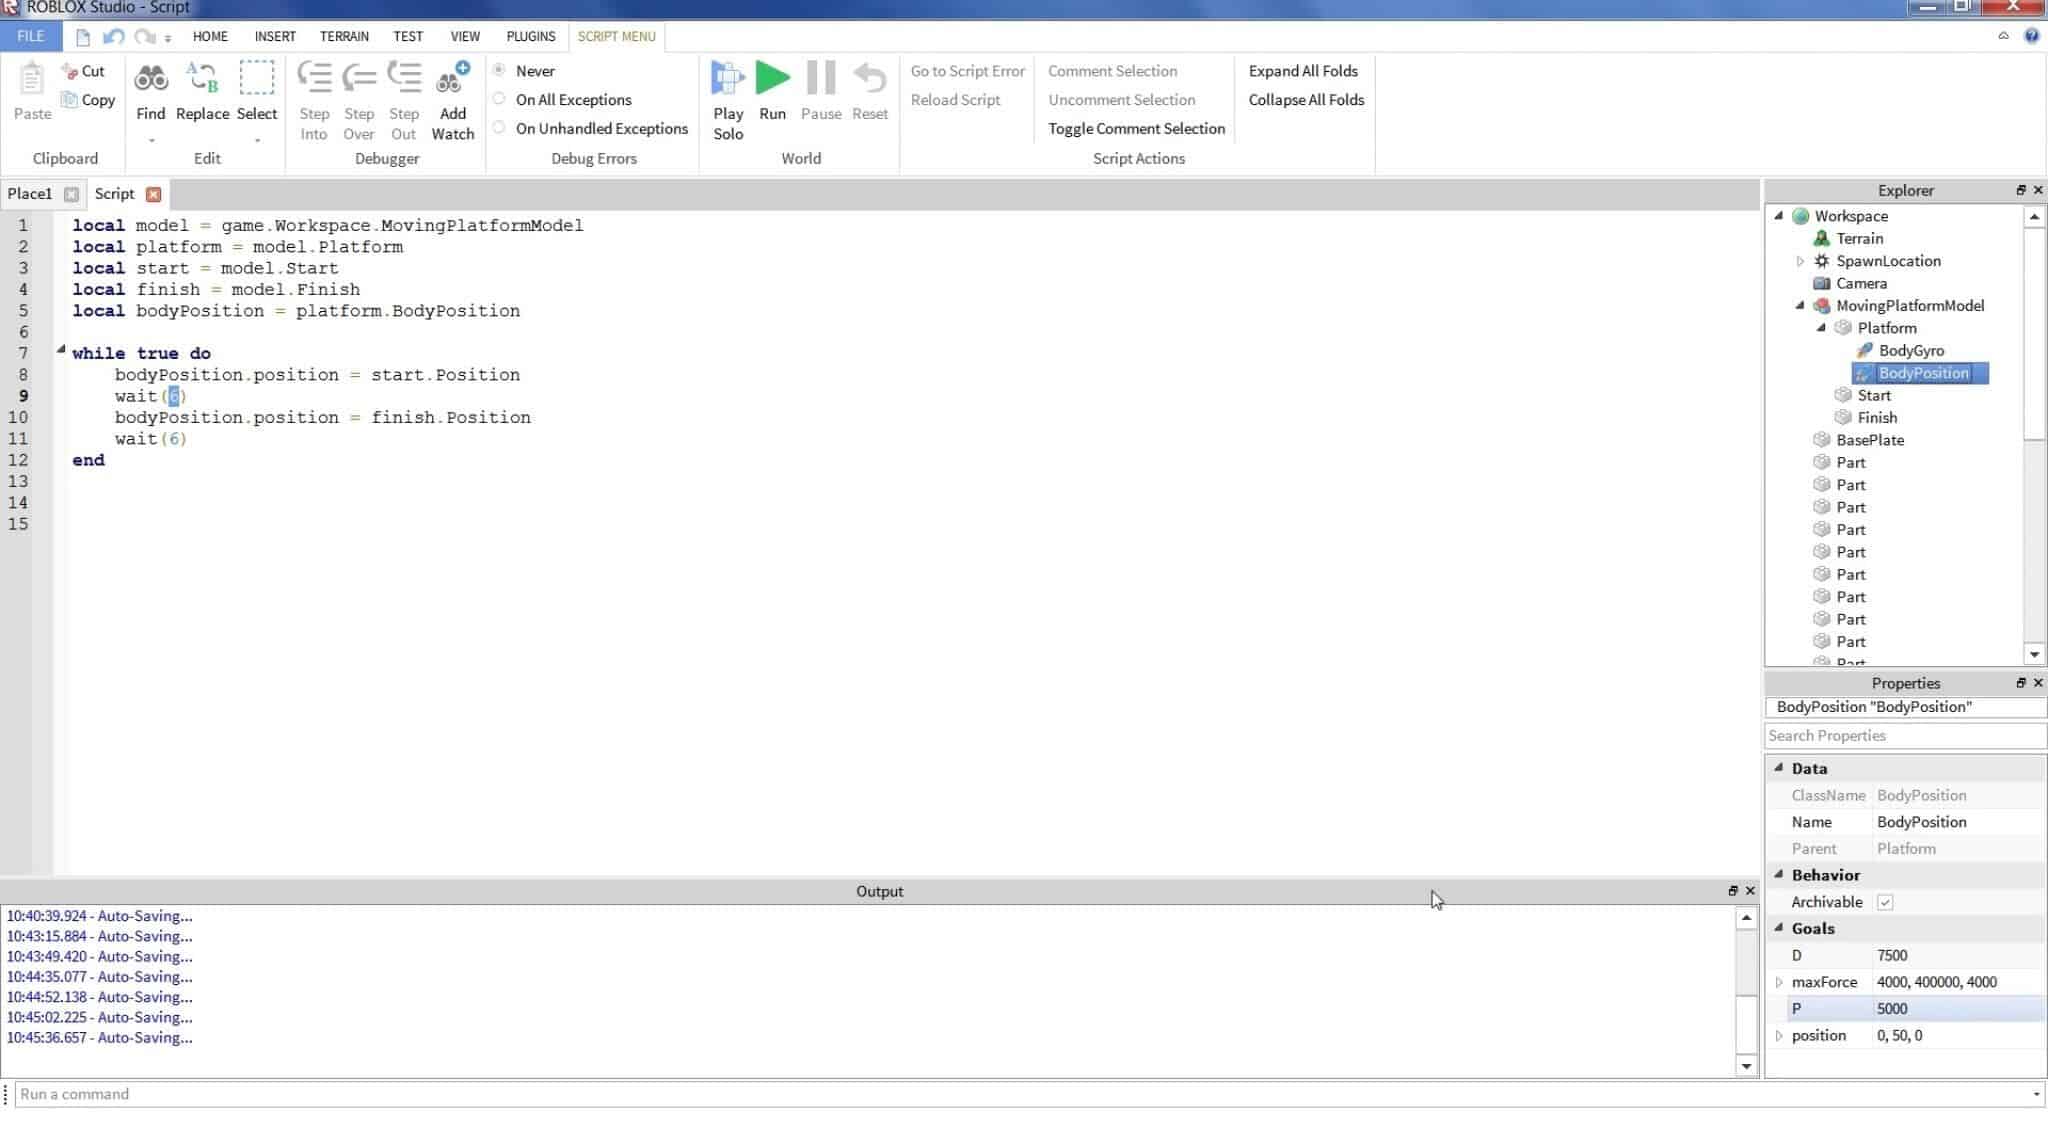
How to Loop a Particular Script
I know that was a lot so feel free to re-read the sections above and practice them as much as you need to before continuing. That said, we are in the final stretch, so to speak, of learning how to script with Lua. In general, looping is going to be quite crucial for many objects.
Though the lava doesn’t need to loop killing, you might want to loop an object that is on a particular set path. For instance, there might be an NPC you wish to go on the same path over and over. That would need a loop to keep telling it the same functions and properties infinitely.
In this case, what you need to do is create a while true command. It looks a little bit like this:
- while true do
- end
Before I go any further, never use the function above as is. There is another line that needs to go between the two lines, or else it won’t work at all. In fact, testing out this command as is will possibly crash Roblox Studio, so don’t continue until after reading all of this and the next section.
The first line is your essential while true do command. There are variations to this, but for the most part, you’ll want something like while true do. This means that while the function is true, it will continue over and over. You also need the end line to close out the loop, as always. However, there is one more element to this.
Wait Command Is Key
Before you can ever truly take advantage of a while command to make an infinitely repeating loop function, you’ll need a wait command, too. Without the wait command, it will crash the game and not let it run properly.
A wait command is there as the transition from a function back to the beginning for it to start over again. It is the short wait period in between cycles of, for example, an NPC running along the same path. It could be as fast as a single second, or it could be something massive like a whole minute.
Here is an example of the wait command in action alongside the while true do line that I previously showed you:
- while true do
- wait(1)
- function name( )
- end
The first and last lines are the same, but now we have the wait command that tells the object to wait for the specified number of seconds. Then it will do the function and repeat, waiting in between cycles. This is the simplest form of this command, but it can get deeper than this.
If there is more than one function that the object does, you’ll need to include all of the function names with the parentheses followed by a wait command in between each of them.
How to Complete a Script
With all that out of the way, you are now ready to complete your script for that particular object. You’ve given it a variable, provided some functions for it to do, changed its properties, repeated it if you’d like, and closed out the entire script.
At this point, it is vital that you go through and re-read the entire script from top to bottom with a fresh mind. You might realize you made a mistake somewhere along the way, like a period, instead of a colon, for a connect command, and so on.
These mistakes are simple and common, especially when coding for hours on end, but you have to fix them, or else nothing will work how you intended it to. When you’re ready to complete your first Lua script, there is one final step that you must do before moving on to the next one.
Testing Your Script in Action
It is now time to test out your script in action. You’ll see a play button when you are in the script editor for Lua. Doing this will show the object in question acting out the entire script you’ve put for it. In the case of an NPC running around, you should see them do that.
For more static commands like, say, the deadly lava block I mentioned earlier, you’ll need to save the script and then enter the full-play mode for the game. You’ll want to run and touch the block to ensure it does what it is supposed to do.
Testing every single object you script in the game is time-consuming and frustrating, but crucial to any adequate Roblox experience. If you leave every object alone and assume it works properly, you can end up with a broken game with hundreds, if not thousands, of scripted objects with no idea where it messed up along the way.
Example Obby Object Script

As a final help for you, I have a little assignment for you. I’ve noted in the past when it comes to Roblox Studio that obbys (short for obstacle course-style platforming Roblox games) are the best starting experiences to make.
This is because you have simple maps that you need to create and, in the same vein, straightforward scripting to do, too. There isn’t much you have to do in Lua for the various platforms and objects you deal with, and there aren’t a ton of them for some obbys, so this is a solid starting point.
One of the most common obby levels you’ll find is the one where there is a group of platforms bunched together, like a duo, trio, or quartet. They will disappear and reappear in a set pattern, causing the player to have to time their jumps to make sure they don’t fall to their deaths and can safely cross.
This is a very basic obby-style level, so I decided to edit an existing line of code to give you an actual script you can use right now. Here is the entire script from start to finish for a single block part that will make it disappear and reappear infinitely for the player using everything we’ve learned so far:
- local platform = script.Parent
- local function disappear( )
- platform.CanCollide = false
- platform.Transparency = 1
- end
- local function appear( )
- platform.CanCollide = true
- platform.Transparency = 0
- end
- while true do
- wait(4)
- disappear( )
- wait(4)
- appear( )
- end
That was 15 lines of command in Lua to tell a single block to disappear and reappear every few seconds. Some of the new options you’ll find here are the Can Collide and Transparency properties. The Can Collide function is there to note whether a player will pass through it or not, falling to their death. They won’t want to fall, of course, when the platform is there but only when it’s disappeared.
Transparency, on the other hand, changes the visual appearance of the platform so that it appears and disappears before your eyes, literally. This way, it actually appears as if it has physically disappeared when it is still there, technically, but just not in a way where you can see it.
You can then take this script and apply it to multiple blocks by copying and pasting it. I recommend setting the blocks at different disappearing and appearing patterns by changing the wait time command so players can pick and choose when to jump.
Lua Difficulty Comparison

For those who are worried about the difficulty of using Lua, I want to let you know that I find it to be a much more simplified and easier-to-grasp concept than the programming languages that most AAA and even some indie games use.
Roblox Lua is like a beginner’s programming language in a way, making a lot of sense with just a bit of time getting to know the script format. It has a much lower learning curve than other programming languages out there, minus maybe something like HTML that is still a tad bit easier.
Even teenagers and kids should be able to grasp this language with a bit of practice, which is apparent in the fact that there are many talented kid Roblox developers out there.
General Tips for Using Lua
Lastly, I want to leave you with some general tips I’ve come up with in my time using Lua. Some of these tips also come from playing so many Roblox games, many of which have bugs and issues in their scripting that prevent them from running correctly or being fun.
- Never overextend beyond what you know. If you’re starting, I recommend building a simple map with only a couple dozen objects at best for you to script. Take your time and practice and memorize various scripts so you can gradually move on to the more complex types of experiences.
- In my opinion, the easiest Roblox genres to script starting out are obbys and simulators. There are many creators out there who have willingly helped with a base code for you to use for those.
- I recommend creating code templates, such as here’s a template for a kill block, an NPC path, a rotating platform, and so on. These let you edit them in the future to spruce them up for different experiences.
- Connect with other Roblox developers. This game is a community-driven game, and the development side follows the same formula. There are various Discords and groups you can join whenever you need help.
- In the same vein, find people to test out and play your game for you. A new set of eyes will sometimes reveal bugs, issues, and even ideas you may not have found otherwise.
- If you feel stuck and don’t have someone to talk to, I recommend walking away, leaving the code there for a day or two, and then coming back to it. This fresh perspective and sleeping on the problem may lead to a breakthrough solution. I’ve experienced this myself.
- Lastly, check out the official Roblox breakdown of everything you need to know about Lua. My guide was for the overview and intro to everything Lua, but Roblox has also given you resources to learn greater detail about the specific properties you can change and everything else to get you on the road to becoming a programming expert in Lua.
FAQs
Question: Is Roblox Lua easy?
Answer: I think that Lua is one of the easiest languages to learn in the grand scheme of programming. While not as easy as something like HTML coding, it’s much easier than Java or Python. It’s a fantastic beginner’s language.
Question: Can a 10-year-old learn Lua?
Answer: It will be rather tricky for a 10-year-old to learn Lua, but it is possible. I think it is one of the more accessible programming languages out there, but I would still recommend it to creators ages 12 and up at the youngest. It will require a lot of videos, some help, and plenty of practice.
Question: What is the best way to learn Lua on Roblox?
Answer: Once you’ve finished reading this guide and learned the basics, there are a few things to do next to learn Lua on Roblox Studio. First, check out the aforementioned detailed instructions that Roblox itself released, then connect with other developers and practice, practice, practice.
Where to Get Inspiration for Roblox Scripting
Part of learning more about Lua and programming, in general, is to look elsewhere for inspiration. The beauty of Roblox is that it’s a community-focused game that is all about connecting with one another. While I don’t condone stealing, it is smart and encouraged to use other people’s games as a basis to formulate your own Roblox experience idea.
That is why I highly recommend that you familiarize yourself with the best Roblox games that exist today if you want a chance at making your own successful experience. Never copy what the creators of games like Adopt Me and Bloxburg did, but at least take what you learn from them and apply it to the games you wish to make. Who knows? You might even be able to make a better game in the long run.