

- Roblox Flamingo Bio: Age, Birthplace, Nationality, More Explained - March 15, 2023
- Bankai Akuma Shindo Life Guide: How to Unlock This Eye Bloodline - March 15, 2023
- Blox Fruits Tushita Guide: How to Unlock This Endgame Katana - March 13, 2023
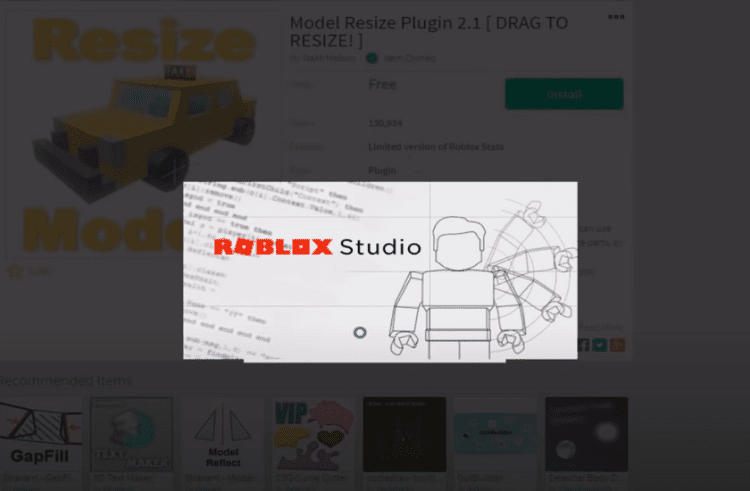
Roblox Studio is the application from which users build out their own Roblox game experiences. It starts as a rather beginner-centric studio platform where you can more easily understand how to place objects, lightly edit them, and create a simple game.
However, as seen in this Roblox models guide, it has some more profound, intermediate-level aspects.
The purpose of this Roblox models guide is to help those who are ready to dive deeper into the features that Roblox Studio offers you. You can do much more with the game engine than just throwing together four walls and a triangular roof, changing its color, and calling it a day.
With the tools of modeling objects, I’ll teach you about below, you can learn what you need to to make elaborate games similar to the most popular of all time, including Adopt Me, Brookhaven, and more.
Bottom Line Up Front
Roblox models are the advanced objects you can create within the confines of Roblox Studio. You can create anything you want using the various modeling tools I’ll go over below.
Features like negating parts you don’t need, a union for bringing together two parts, and separating for deleting areas that aren’t useful let you create custom models that don’t exist in the base Studio platform. This is how you create objects, buildings, and even entire maps that wouldn’t otherwise be possible.
Roblox Models Overview: What are Models?
If you’ve been reading my other essential introductory guides to Roblox Studio, they are mostly straightforward and aimed at beginners who may not have any game development experience. I will continue trying to put this guide in a more beginner-themed focus, but I write with the expectation of some knowledge and experience.
I’ll do my best to recap and explain the basics you need to know for every part, but there are some elements you’ll definitely need to know. For instance, if you are new to modeling, this is where you go in as a creator and use Roblox Studio to create your own model objects or, basically, custom objects that the game doesn’t offer you.
Roblox Studio lets you use only so many types of parts from the start. You must navigate and manipulate the parts to create your desired buildings and maps. However, those essential parts will only get you so far when designing a Roblox game.
In fact, the Roblox titles that do well and have people playing them use complex models that enhance the possibilities of what can be done. Players will note how basic or boring your maps might look without them. Thankfully, that’s where I come in, as I will teach you the basics of modeling in Roblox Studio.
The goal is to provide you with the tools by which you can create the model objects of your dreams. Basically, anything you can imagine in Roblox can be created with these tools, some practice, and a lot of time on your hands.
Basic Roblox Studio Parts Explained
Before we go any further, modeling in Roblox Studio requires using the five essential parts you likely already know about from messing around with the game engine. Roblox Corp. put these five essential parts into the engine for you to edit and place all around your game map.
Though they are not enough to create elaborate and exciting Roblox games, they are the fundamental building blocks by which you do everything else. So, before we can even go further, you must understand these parts from start to finish, or else you won’t be able to successfully create your game maps.
As mentioned, five essential parts make up Roblox Studio. These five objects are:
- blocks
- cylinders
- spheres
- wedges
- corner wedges
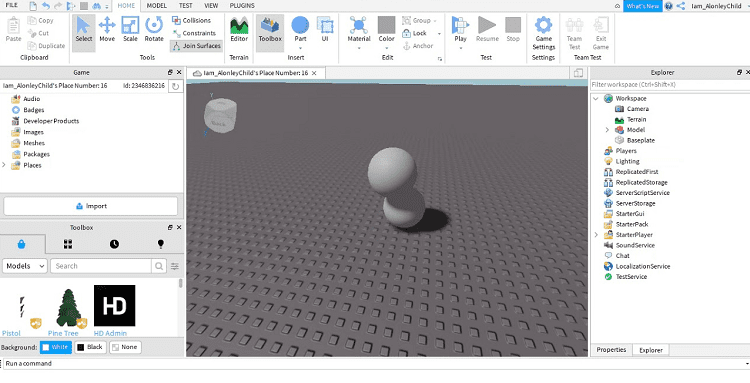
To insert any parts in your experience, go to the Home menu and find the Parts section or do the same through the Model tab.
When you go through the Parts menu, you’ll find the five parts and can select one to spawn it on your map. Doing so will put it at a base level of your map, from which you can move to where you need it to be.
Below, you’ll find a breakdown of each of the five parts, how they look, and what they are used for many times.
Block Explained
For starters, there is the block. This is one of the most commonly used of the five parts due to its rectangular default nature. You can do much with this single part, as it arguably has the most versatile functions out of any of the five.
Given this block’s somewhat flat rectangular style, you can do much with it as a building model. It can be the wall of a house, for example, letting you build simple buildings and even some larger ones but throwing a bunch of these rectangular blocks together.
It can even function as the floor of the house or a walkway outside to be the literal foundation underneath your feet.
It can even serve as the ceiling for a building, the doorway shape, and so much more. Without a doubt, the block will be a valuable tool when designing your own Roblox maps, but even it isn’t perfect on its own.
Cylinder
The second base building model part is the cylinder. This is precisely what it sounds like, a long tube with flat circular ends on each side. In all honesty, the cylinder isn’t that useful at times without some significant editing, but it becomes a valuable connector and source of creation once you mess around with it.
On its own, though, the cylinder is an excellent connecting piece that lets you bring together two rectangular blocks or something else. It can serve as a pipe for an underground area to let you have a walkway there. It could be the basis for a statue or pillar of a building. With some modeling, as we will go into below, it can be much more.
Sphere
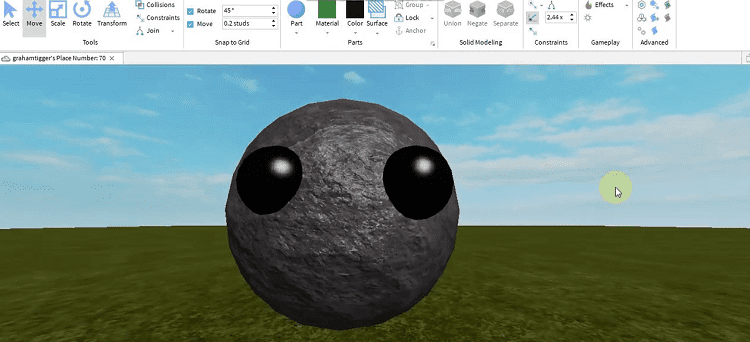
The third part is the sphere. This is another self-explanatory one that is just a 3D ball object. The sphere has nothing special but plenty of uses whenever you need a circular touch in your building. This is also where a lot of creativity comes into play with your building.
The sphere can be a significant decorative piece, doing random things like being the focal point of the statue mentioned above, the structure that highlights a luxurious estate, or the chandelier even on the ceiling of a home.
Using the sphere alone is the main problem, as it can only do so much. That is why it needs the use of modeling to help it connect with other custom parts and create something elaborate and magnificent that fulfills your imaginative vision for your Roblox game.
Wedge
The wedge is one of the more intriguing parts you can use and one that I think might be overlooked by some beginner Roblox developers. The wedge appears like a ramp part, basically, with two triangular sides. As a ramp-looking piece, it is essential to create elevation and height in your maps.
Let’s face it: it’s a little bit boring and limited in scope if your map has nothing but just running around on a single flat base floor. Unless, of course, there is a specific reason for that, but that is rare even in the case of simpler Roblox experiences out there.
As such, the wedge can help you create some natural ramps to go up and allow players to access the second floor, perhaps a third floor, and even beyond. There are some issues with this, though, as it doesn’t look quite like a traditional staircase and is more of a flat ramp, but this is also where modeling comes into play.
Corner Wedge
The corner wedge is a fascinating piece that some players may overlook as the forgotten younger sibling to the wedge. However, it is pretty valuable because it is just a pyramid shape, perhaps what Roblox should have called it instead of tying it to another one of the five parts.
It is a 3D pyramid shape with a flat bottom and four triangular sides that meet at the top point. There is a lot of value in the corner wedge, but this is another one that requires manipulation and editing to make it work for your map.
One of the base examples of using the corner wedge is for a basic roof of a house. It quickly gives that classic triangular roof quality to it for a no-frills home or building on your map. However, with some modeling, like the other four parts, you can develop particular purposes for the corner wedge piece.
How to Turn any Basic Object into Something Else
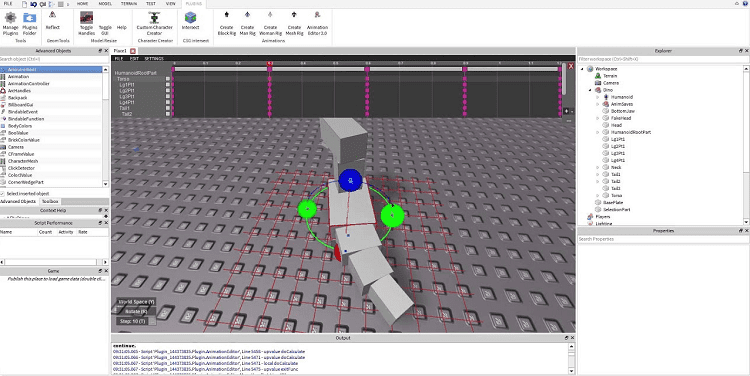
Now it is time to get more into the actual Roblox modeling aspects you came for. Modeling involves editing objects in one way or another. There is an entire Model sub-menu that you can access that contains all of the below elements I’ll go over and more.
Within that menu, you’ll find different ways to model in Roblox Studio and create anything you want. The idea is to take the shapes we discussed above and model them into something else. The tools that Roblox Studio gives you are simple but effective.
They are easy to learn but challenging to master. However, if you can truly dive deep into them and know everything they are capable of, you can come up with any and all objects you can think of.
The skies are the limits for you, and nothing is stopping you from creating the Roblox game of your heart’s desire, except for possibly time and your imagination.
To this point, there are two essential parts that you need to know about when it comes to modeling objects in Roblox Studio:
- properties
- the modeling tools
Properties are one area you possibly already know about if you’ve played around with Roblox Studio in the past.
On the other hand, even if you’ve used properties a lot to model and change shapes, there is a high chance that you haven’t touched the actual modeling tools at your disposal.
This is where Roblox Studio can go from being accessible to everyone and beginner-friendly to requiring some serious practice and knowledge to fully understand what you can do in the game.
Thankfully, I’ve got your back with explanations and tips on using both of these areas to the fullest to create the map of your dreams.
How Properties Help
First, let’s start with the easier of the two for you to grasp: properties. Every object in Roblox Studio has its properties, or basically the stats that make it up. There are several categories of properties, and you can change every single one.
Properties are how you go about changing up objects in a simple and clean way that doesn’t take too much expertise to happen. You can move parts around the map to whatever location you want it to be, which is the most basic form of changing the property of an object.
In the same vein is the size of the part. You can change its size to larger or smaller than the default version. This is how you go from having a small block to a full wall-sized version. This is by using the scaling option to change its size proportionally.
In addition, you can manually change the size if you don’t want it to be proportional by plugging in the exact size dimensions you want for it. In addition, you can rotate an object to make it upside, for instance, backward, and so on.
There is also anchoring, which lets you keep an object anchored in place. How this works is that sometimes there is an issue with gravity that will make a floating platform, for instance, fall immediately to the ground when you boot up the game and play it. Anchoring will keep the object where you put it, even when gravity comes into play.
There is also the ability to customize the object’s color and even the material it uses in the properties of it as well. This is a heavily important part of properties, perhaps even more so than any other one, since it allows you to customize and make an object fit your game better.
This is also where you get the difference between an object that looks like a field of perfectly cut green grass and one that looks like a neon bubbling pool of lava. Besides colors, you can pick materials like plastic, concrete, metal, and more.
You should note here that the different material types have different physics from one another, acting like they would in real life, such as metal sinking faster in water than plastic. This is worth keeping in mind when changing these particular properties of an item.
Editing and Cutting Objects
The other half of modeling is also the more intensive and harder-to-grasp part. Modeling involves various tools you can use to customize an object to make your type of item. You’ll find three main tools when you go to model in Roblox Studio beside the basic moving, scaling, rotating, and transforming.
These three tools are union, negate, and separate. These require you to design and cut objects manually, so you will want a good mouse that you can handle well. In this case, the basic idea of modeling objects is to physically edit the shape. In general, what happens is that you are dealing with negative parts and normal ones.
The negative parts are the ones that you have manually created. With the mouse, you design a line of a border in the object that lets you create your own unique shape. This could be considered something like cropping in a way, but there is more to it than just that.
How the Negate and Union Tools Work
When you use the negate tool, which is the most important one to note here, you use a slicing mechanism that goes through the object and creates two halves, one on each side of the cut you made. The negated part will turn red on your screen, while the rest will remain the same.
It is at this point that you can do quite a lot. For starters, you can use the union tool to remove the negated red part that you cut entirely from the game. This is good for trying to remove a specific piece of the object you have no use for.
For a simple example to help you know more about this, you might have a large block that you are using. This large block has been resized to become a wall for a house, but now you need a door, so you want to cut out a doorway from the wall. You can manually go in and use negate to create a negative red space where the doorway would be.
Then you can use union on that negative space to remove it entirely and leave this empty doorway space in the house wall that you can now enter. Basically, it renders the negative part obsolete. However, this is only one-half of what a union can do.
Without using the negate function, the union brings multiple parts together. This is useful when you want to make an entire set of parts that go together. For instance, you might want all of the walls in a house to be part of the same group, and a union will let you bring them together.
There is a restriction here that you need to know about, though. Using unions on these items will make them all have the same material. This shouldn’t be a problem most of the time as you likely want that to be the case, but worth noting if you start unionizing two objects that are entirely different from one another, which shouldn’t be done.
How Separate Works
Separate is an exciting tool that doesn’t necessarily do what it sounds like. If you’re like me, it sounds like it does what the union does in deleting the negated part, but that isn’t the case. Instead, it takes a negated part and then makes it into a regular part.
You might wonder why you would do this. The idea is that maybe you want the cut part you made to still exist in the game but to be wholly separated from the base part it had. In this case, separate would come into play.
Using the doorway example again, perhaps you want to use the cut doorway part as the actual door itself. This is where separate comes into play. Instead of deleting this area entirely, the negated part will remain but now be its own part, separate from the original block wall.
This lets you then take that new normal part and edit it to your liking, giving it its own properties like size, materials, colors, and so on. You’ll be able to edit its script and have it act like a door, whereas the rest of the block it was part of will remain a static wall as before.
Two Tips that will Expand Your Horizons
In the end, learning to master the Roblox model tools is easier said than done. While there are only three of them, besides the properties you can manage, they take a lot of practice to master.
But once you are natural with them, you can make any item or object you can imagine in Roblox Studio. It just might take a ton of editing to make it happen.
To somewhat help with that issue, there are two main tips I have for you when it comes to Roblox modeling. These have to do with two features of Roblox Studio that some newer developers may not know about that will save you a ton of time or open up your possibilities even more than ever before.
Plug-ins
First off, there are engine plug-ins you can use to expand what you can do with Roblox Studio. These plug-ins are, in a way, extra programs you can download and add to your Roblox Studio application to let you do much more than you could before.
Several plug-ins exist, and they each do different things, such as Geometry. This plug-in expands how you can edit and create an object but is considered a highly advanced one. Only use this whenever you’ve mastered the essential modeling tools, as it will be very challenging to use otherwise.
In addition, there is Ease of Building, which takes the building aspects and simplifies and expands them simultaneously. Organizing your buildings with this plug-in is highly recommended if you have a massive game with tons of places and objects.
Other plug-ins will enhance the general modeling tools that you have to be better or even more in-depth, so it is up to you to pick and choose which plug-ins you want to use. Once you know these modeling tools inside and out, I recommend plug-ins for expanding your horizons greatly in terms of what you can do in Roblox Studio.
Creator Assets
Moving from something harder to use at times in plug-ins, we have something that will simplify and make your development life a whole lot easier. There is an aspect of Roblox Studio that many budding developers ignore when starting out: Creator Marketplace.
This marketplace features the various assets other creators have made before and chosen to share online. You can create your own assets and share them with other developers if you like. But the main point here is that there’s already a treasure trove of assets for you to access here.
Many of the objects and ideas in your mind have probably been uploaded on the Creator Marketplace for you to download and add to your game immediately. This will save you an unbelievable amount of time, especially regarding some of the more complicated models.
The example I like to use a lot are trees and other flora objects. These are relatively easy to make, but their shapes can be complicated and require some modeling to get to the tree and flower shapes. So, just download a few from the Creator Marketplace instead of wasting your time creating multiple versions of trees or other plants.
You can then copy and paste them throughout your environment to create a varied map that looks interesting while saving you a lot of time in the process. The same goes for buildings and most other basic objects, but I wouldn’t copy and paste these as much.
For example, maybe there’s a castle you want to use from the Creator Marketplace. I recommend taking it and editing it yourself to give it your unique touch and feel. It is best not to directly take too many assets from others and use them just as they are, as this will lead to your game looking too much like other Roblox experiences.
But their models can be used as a basis to save you time to focus on the more creative and colorful sides of customization.
FAQs – Roblox Models Guide
Question: How do I Create Models for Roblox?
Answer: You create models in Roblox using the five essential parts – blocks, spheres, cylinders, wedges, and corner wedges – and then edit them using their properties and the three main modeling tools.
Question: What do Models do on Roblox?
Answer: Models are any objects that you have on your Roblox map. In general, they mainly include the original things you edited yourself using the modeling tools. These are part of your primary assets.
Question: Is Modeling for Roblox Easy?
Answer: Modeling for Roblox is as easy as the amount of time you put into it. It will be confusing and complicated if you don’t spend enough time practicing and getting to know the modeling tools. But it can become second nature if you spend a lot of time with it. But it’s definitely more complex than some aspects.
Where to Find Inspiration for Your Roblox Models
Modeling in Roblox is one of the more advanced features of creating a map, but it is vital to stand out with a viable experience that players want to play. Without it, you’re looking at a rather meh and uninteresting game that probably won’t catch most people’s eye.
If your game still does get players because of its trendy nature, they likely won’t enjoy playing it enough to stick around. As such, I recommend checking out some of the best Roblox games that exist to find inspiration for models and maps you can create yourself.
Recommended Reads: