
- Roblox Flamingo Bio: Age, Birthplace, Nationality, More Explained - March 15, 2023
- Bankai Akuma Shindo Life Guide: How to Unlock This Eye Bloodline - March 15, 2023
- Blox Fruits Tushita Guide: How to Unlock This Endgame Katana - March 13, 2023
Roblox’s most remarkable aspect is that someone like you made everything you see and do in the game. The entire game is built on the idea of everyone creating and sharing their own experiences with one another. That is the brilliance of Roblox and why I’ve enjoyed it since 2016. But playing the user-created content in Roblox is only one half of the equation. The other half will be explored in this Roblox Studio guide.
If you’re finally ready to step beyond what most Roblox players do and begin your own journey as a creator, you are in the right place. It is now time for you to learn more about Studio, the place where you design and publish your own Roblox experiences. Anyone can do it, and it’s arguably easier to create here than in most game engines. Find out all the basics of what you need to know in this Roblox Studio guide.
Bottom Line Up Front
Roblox Studio is the second half of the massively popular game. It is where creators go to build their own maps, experiences, games, and more. You have complete control to manipulate the various parts of the Studio and make your own custom assets to create the game of your dreams. Anything from platformers (obbies as they’re known) to first-person shooters to narrative-based puzzle games and more is possible inside the Studio.
Roblox Studio Overview: What Is It?
For starters, you must understand what exactly Roblox studio even is in the first place. There are two different Roblox experiences you can download and play right now. There is the core Roblox you know and love, where you find countless user-generated experiences and everything else for which the game is known.
However, the second part of this is Roblox Studio. This is the creator platform where you build your own experiences to share with the hundreds of millions of active users worldwide. What you need to know, first and foremost, is that Roblox Studio is its own separate application.
These two parts of Roblox are kept separate for a reason, as it allows each to thrive on its own and not potentially double the possible load on your computer or device. Roblox Studio is accessible to everyone, just like Roblox, and you won’t have to pay anything to use it.
It doesn’t matter how old you are or how much experience you have with video game design, as you can download Roblox Studio right now and start using it without spending a penny. This makes it one of the best places to play around with the game design and see how you do when it comes to creating your own Roblox experiences.
From personal experience of using Studio, I will note that it is easier than some of the other game design engines and programs I’ve used in the past. I would argue that it is much more streamlined and understandable than even something basic like Blender, which is actively used in beginner game design courses.
However, at the same time, it is not necessarily as user-friendly or simplified as one of its competitors, like Fortnite’s Creative mode. But I find it a healthy in-between spot, so I can safely recommend Roblox Studio to even beginners. Here’s how to get started.
How to Find Roblox Studio
Before you can do anything else in Studio, you first need the application. To this point, there is a special requirement that you need to know about. For Roblox proper, there are three core platforms that it runs on: PC, Xbox, and mobile. As you likely know, not every game runs on all three platforms, but most of them do.
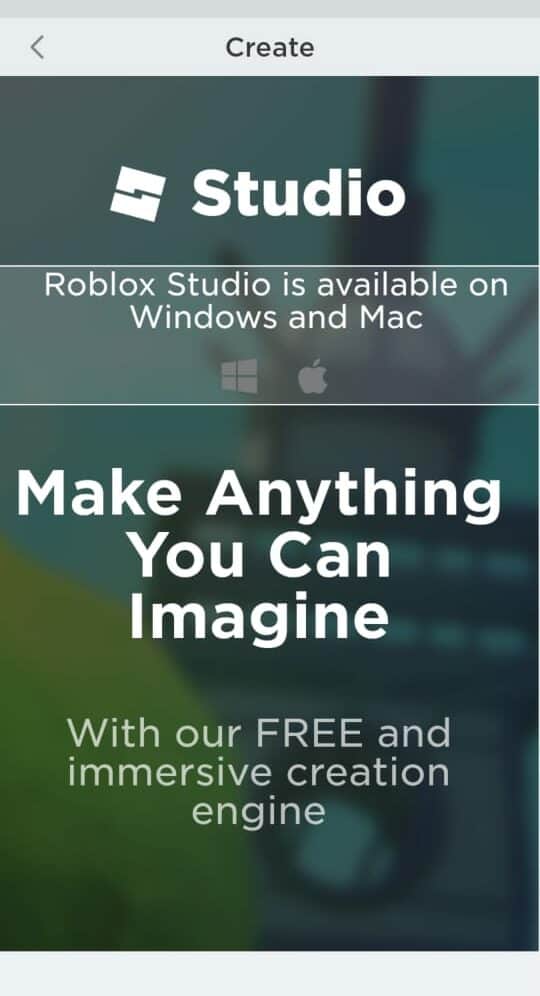
Unfortunately, Roblox Studio is its own beast, so it doesn’t follow the same general rules as the central part of the game. As such, it is only available to PC users, and that’s it. If you want to design your own games, you’ll need a computer that can run Roblox Studio. Thankfully, that isn’t too intensive in the slightest.
Suppose you can appropriately run Roblox on your computer and play games without too many issues or frame rate problems. In that case, you’re probably good to go to start using Roblox Studio. Just bear in mind that you may have some choppy performance if you start to build some genuinely massive game experiences.
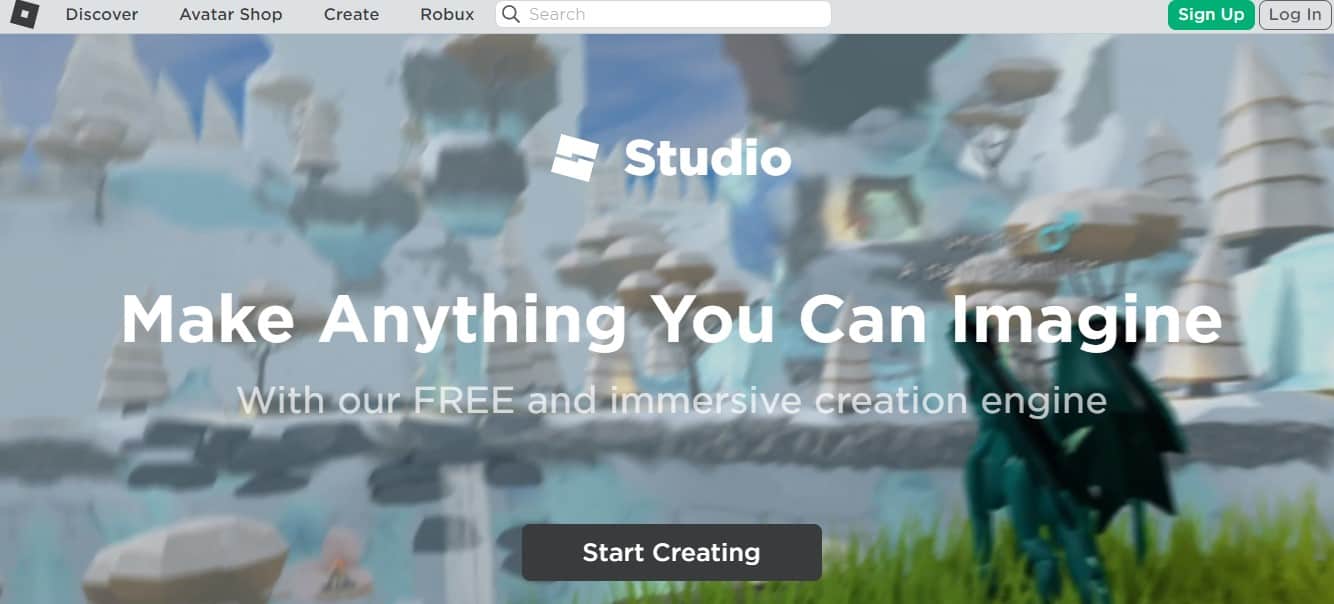
The option to download Roblox Studio is on the official website right here. Suppose you download core Roblox on your computer. In that case, chances are it will automatically download and install Studio on your desktop simultaneously, so you may already have access to it and not even realize it.
The idea is to open up the main Roblox when you want to play games and Studio when you wish to build games, so be sure not to mix the two applications up accidentally.
How to Run Roblox Studio on a Mobile Device
On a side note, I think mobile and possibly even Xbox could run Studio and let users build games, but that option isn’t available now. Perhaps someday, everyone will be able to create games wherever they are. In the meantime, I have a quick solution for you on mobile.
I understand that not everyone, especially kids, can purchase a computer to run Roblox Studio on. They only have a smartphone or tablet to play the game on. Thankfully, there is a sort of solution for this. What you’ll need is computer streaming software like Shadow Cloud.
It creates an entire desktop computer in the cloud for you to run for a monthly price, and you have a gaming-centric PC at your fingertips. It’s not the cheapest option, but it is more affordable than buying a PC if you only use it for a few months to build your game. I’d hate to see kids being locked out of creating games when some of the best Roblox experiences and items were created by kids, such as the wonderfully missed and extremely talented Lizzy Winkle.
Starting Your Experience
Now that you have Roblox Studio on your computer, it is time to start. There are a few options available to you from the start, but the one we want to focus on as a beginner is the “new” option on the left side of the screen.
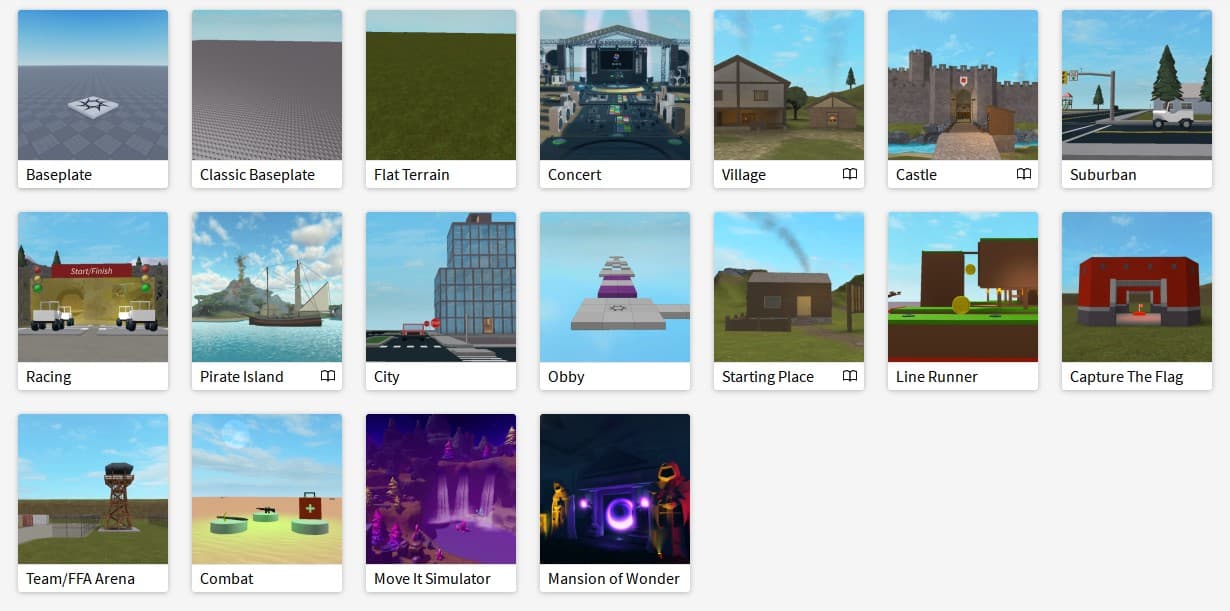
When you select this, it will let you create a brand-new project. After selecting the “new” option, your experience begins by choosing the Baseplate item from among the available templates. This item is found under the All Templates category.
The Baseplate is your basic item that is necessary for starting an experience. Think of it like the spawn point for all players on the map. This is where a player begins the experience and respawns upon hearing the oof sound of their death.
Everything you build in your map will revolve around this Baseplate, so think of it as your first step towards your first experience. You navigate your experience by using the WASD keys as you would running around a Roblox game.
Instead of controlling an avatar, you control the camera around your experience. The idea is to move your camera around the map and place it where you want to be to add items, spawn points, platforms, objects, weapons, and more that you’ll need.
How to Build Maps
When it comes to building maps, this is where it gets as complicated or simple as you want it to be. I recommend starting out light and picking objects for a map that is not too intensive or elaborate. What Roblox itself recommends and I agree with is building an obby game first.
Obbys are short for an obstacle course or a generic platforming game. But you could make whatever you want first, from a first-person shooter to an RPG to even a story-driven puzzle adventure. Regardless, building your map involves one central area: parts. These will be your best friends when creating the map of your dreams.
How the Core Parts Work
One of my favorite parts (pun intended) of Roblox Studio is the literal parts you use to make a map. Parts are the catch-all term for the main objects placed in a Roblox experience. Think of them as the building blocks you use to create the location of your dreams.
They are essentially like virtual Legos in the way that you connect and bring them together to create larger objects and buildings. What I love about Roblox Studio is that it is simplified into only five main parts that exist:
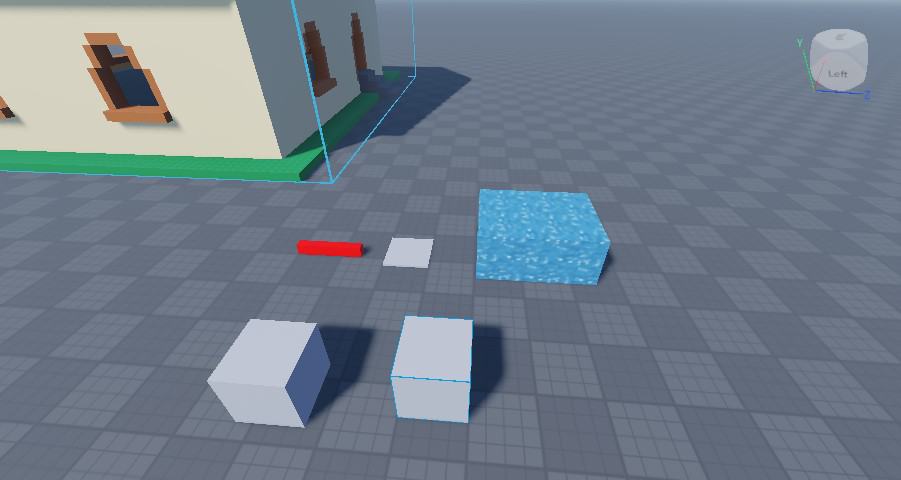
- Block
- Cylinder
- Sphere
- Wedge
- Corner Wedge
That’s it. Those are your five basic parts, and there is so much you can do by mixing and matching them. The block itself is just a rectangle that you can edit in various ways to be a wall, floor, ceiling, and so on. The cylinder is precisely what it sounds like, being useful for pillars, statues, and much more.
A sphere is a valuable tool that lets you create anything that needs a circular touch, especially since the other parts are all very sharp with their harsh corners. A wedge is a ramp-looking object that is useful for creating elevation and height on your map, while a corner wedge is a pyramid-shaped object that can be useful for the top of castles or creating roofs, for instance.
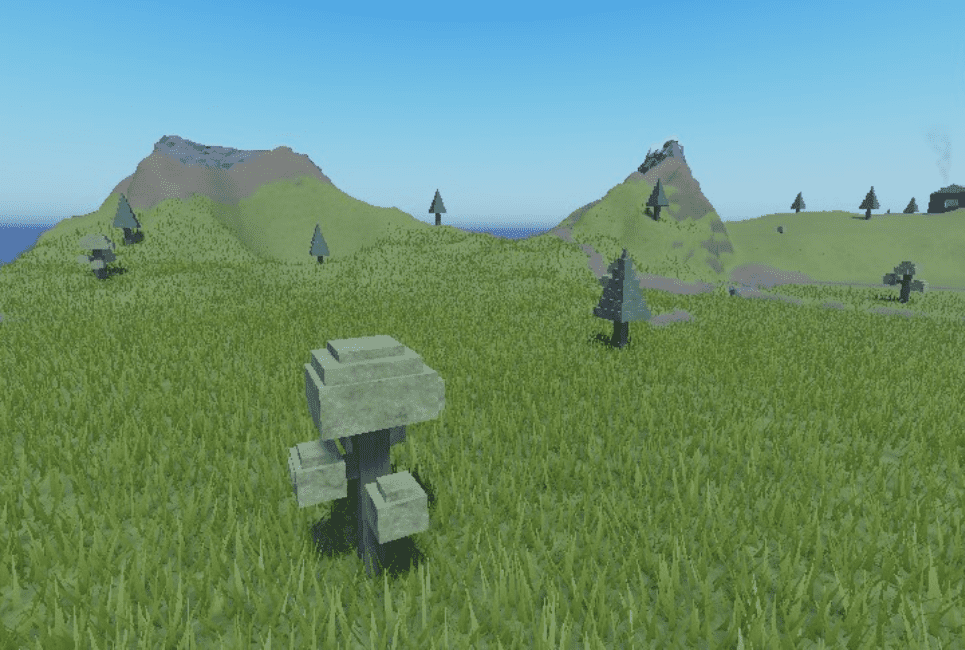
These five shapes are simple enough to grasp, but there is a lot that you can do with them. The idea is to mash them together to make whatever you need for a map. For example, if you want to build a simple starting house for your map or obby, you need to start with the walls and floor.
The block is best used here as you can place a flat block on the ground to be your floor and four standing blocks on the walls. You can then put another flat block connected to the walls as a pseudo roof. However, you can enhance that by placing a large corner wedge on top of the ceiling block to make a proper triangular roof.
From there, you can enhance your building further with the other parts by putting cylinder pillars outside the house’s doorway to create some foundations and decorations. You can take the wedges and use those to create a ramp up the house or ramps to a second floor.
Customization
There is so much to parts beyond just mixing and matching them together. You can also customize them to give a unique feel to your map. Every detail can be resized to make them larger or smaller, so they adequately fit into whatever you’re trying to make.
In addition, you can rotate them to lay them flat or stand them up. You can even color them to whatever color you want; every individual part can be customized this way. Of course, you can copy and paste various parts to make it easier to build something that requires many of the same parts.
This customization is how you elevate your experience beyond something bland and too dull. But there is an element of customization that is far greater than just changing a part from blue to pink, and this is where assets come into play.
How to Insert Assets

Once you are ready to start digging into creating your first Roblox experience, it is time for you to learn more about assets. You see, assets are anything someone uploads and shares with everyone else online in Roblox.
An asset can be as small as a hair accessory for an avatar that someone made. But it can be as large as a massive castle that someone intricately designed and colored to be the center point of a map. The user-created assets are how you can speed up the process of building your own experience considerably.
You can search online and find assets someone else made by navigating the Creator Marketplace. Many of these assets are totally free to use, and they will save you a bunch of time. One part that I highly recommend searching for is trees and other natural decorations.
These can be some of the more complex items to create in Roblox Studio, and take a lot of time to craft them nicely. Thankfully, countless trees and flowers exist in the Creator Marketplace, so you don’t have to worry about making them yourself. Of course, you can use this valuable tool for any other assets you might need. You can share your own creations to speed up the process for someone else.
Creating an Obby Game
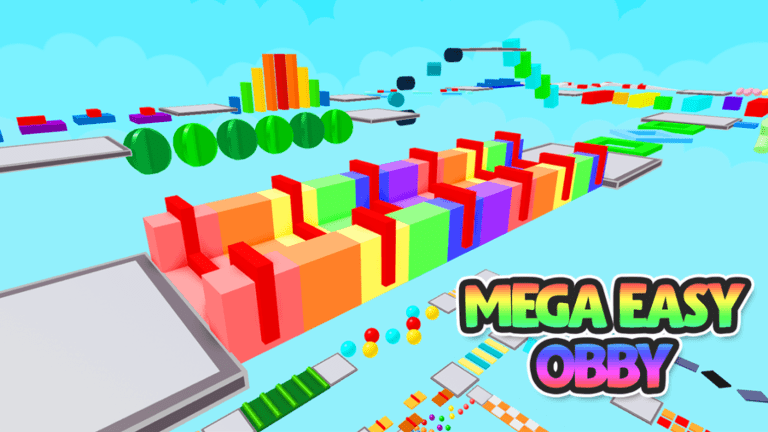
As previously mentioned, the first game I recommend to most newcomers to Roblox Studio is to make an obby. This is arguably the most popular genre of experiences in Roblox, and for a good reason. They are the easiest games to make as well.
The idea of an obby is to spawn avatars at one spot and ask them to make it to the end of the platforming map. This can be as large and difficult as you want it to be. Obbys are easy to make since they only require simple platforms and maps that aren’t as deep as some of the other genres out there.
For instance, you can start with just your Baseplate where the player begins the obby. Then you create your first platform, which could be a rectangular block they need to jump to. You can customize the border where the player can go to prevent them from going beneath the height of the platforms.
This way, if they fall between two rectangular blocks, they will die and respawn at the last Baseplate. You can keep this going, changing the spot of the blocks and the distance between them to make it a little harder for the player.
You can also throw in some basic Roblox Lua scripting here to tell a block to move back and forth between two locations at a certain speed. This will require the player to wait until the block is in the right place to jump to it. Every once in a while, you can add ladders, loading screens to the following map, and new Baseplates to act as checkpoints for players who reach there.
You can add a variety of levels and areas to your obby until the player reaches the end. At this point, you could add a teleporter that brings the player back to the start of the game and lets them immediately continue where they left off.
Those are the basics of making an obby, but you can make it even more intense. You can add a leaderboard, new worlds in updates, cosmetics for players to unlock, currency to collect like gold coins, prestige systems for those who complete an entire run, and so on.
Testing Your Game
One of the final significant points of Roblox Studio that you need to know about is testing out your experience. At any point in the development cycle, you can hit the play button, and you will be thrown into the game as an avatar. You’ll be able to experience what it’s like to play your game.
Testing your experience is one of the most essential parts of building a Roblox title. This is where you can find bugs you may not know about and glitches you might want to fix before publishing the game. In addition, you can see the difficulty and progression of the game.
In the same example of an obby, this is how you find out if you put a platform too far away or made the course far too easy for players to navigate. Testing your game is crucial to creating a quality Roblox experience that others want to check out.
How to Publish Your First Game
When all is said and done, it is finally time to publish your first Roblox game. Congrats! This is one of the most exciting and nerve-wracking parts of creating a Roblox experience. Thankfully, it is relatively easy, but there is a lot you need to know going into it.
To publish your game, you want to head into the menu and find the file function. This is where you do other tasks like saving your project and all that. One of the options also listed here is to “publish to Roblox.” This is the golden ticket choice that you want to select here.
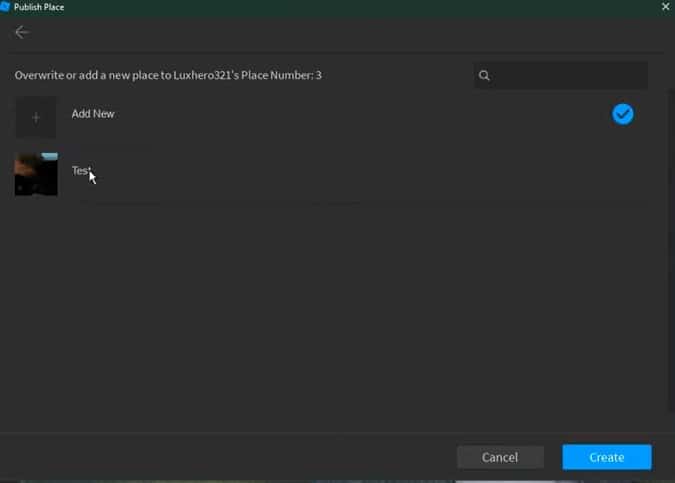
Unfortunately, it isn’t as simple as selecting this option and moving on. There is a little more that you need to worry about here, too. What you want to do is give some further details about your new Roblox experience, including the following:
- The name of the game
- Description to let players know what the experience is all about
- Who the creator is (you can give credit to more than just yourself here if you’d like)
- Genre
- Devices that the game is playable on
Once you are done with this, it is time to hit the create button, and your game will now pop up for everyone on Roblox. At this point, there are new settings that you can select for the game, such as making the game private or public and so on. In addition, you will have a personalized link to your unique game that you can then share on social media and with friends.
Monetization Explained
Let’s discuss how you make money with your new Roblox game through Roblox Studio. This is a part that many creators miss out on and don’t take full advantage of. There are a few ways to make Robux from your game, starting with cosmetics.
If you add some premium items into your game, like a game pass or unique cosmetics that players have to spend Robux on, this will earn you a commission. There is even paid access where someone has to spend some Robux to unlock your game a la Welcome to Bloxburg, though I don’t recommend this option.
It is also possible to create and upload your own cosmetic items separate from your experiences and sell those in the avatar catalog. You’ll get a portion of that money back, too. Here’s where I have some issues with Roblox. You can earn cold hard cash from what you do in the Roblox Studio, but you need to exchange the Robux you make for cash instead.
That is a complicated and somewhat unfair process that deserves its own post. But remember that it isn’t as simple as putting up your game and earning cash. You have some hoops to go through unless you like earning Robux.
Tips for Being Discovered
Here are some of the quick tips I have for Roblox Studio creators to not only make exciting games but have their experiences discovered in the process:
- Unfortunately, as much as I care about quality, Roblox doesn’t care all that much about quality for discovery
- That said, try to make something fun and interesting
- What matters for a game’s discovery is its trending nature. Make a game that is relevant to a popular TV show, movie, or other game that everyone loves right now.
- Just try to avoid legal issues (stealing property assets, copying too much, using the same name, etc.)
- Reach out to creators and fans like myself who can check out your game and possibly talk about it (if it’s worth talking about)
- Genre is key. Try to offer something in a popular genre like obby or simulator but have something unique.
- Have a clear theme. If you’re going for a YouTuber obby game, for instance, stick to that theme all throughout.
- Team up with existing creators. Most of the best Roblox games were created by the leading developer with a group of contributors.
FAQs – Roblox Studio Guide
Question: Is Roblox Studio easy to use?
Answer: I would say that the short answer is yes, Roblox Studio is relatively easy to use. Admittedly, this is if you take the time to get to know every button and function. There are more straightforward studios, like Fortnite Creative, but also harder ones, like Garry’s Mod.
Question: Is learning Roblox Studio hard?
Answer: I think that Roblox Studio, like any game engine, has a learning curve at the beginning. However, I don’t think it’s as steep as other game engines, so I would say it isn’t hard to learn but an average difficulty.
Question: How do you start making a Roblox Studio?
Answer: If you mean how to start making a game in Roblox Studio, begin by pressing new on the left menu and then start making the map of whatever game you’re interested in. If you want to make a full-on Roblox development studio of people to work with, that will require multiple successful games under your belt, a strong network of fellow developers, and much more.
Time to Learn From the Best Roblox Experiences
One of the best ways to make yourself a fantastic Roblox experience worth playing is to learn from the best. The best Roblox experiences, including games like Adopt Me and Brookhaven, can hopefully give you some ideas that you might want to implement in your own future Roblox games. That is, as long as you don’t outright copy them, of course.
Recommended Reads: